Whats HOT

Tuesday, May 3, 2016

Suzuki RGV250 "The DRagon"

Hi guys long time no see

Recently a friend of mine brought this Suzuki RGV 250 for a some plastic repairs and respray in black

Some nice cracks and missing pieces and over 4 previous paintjobs

The nickname "Dragon"came because all of the lame dragon stickers that someone tried to save repainting with a spray can from yellow to black

This is what happened when i tried to remove the paint of the fuel tank

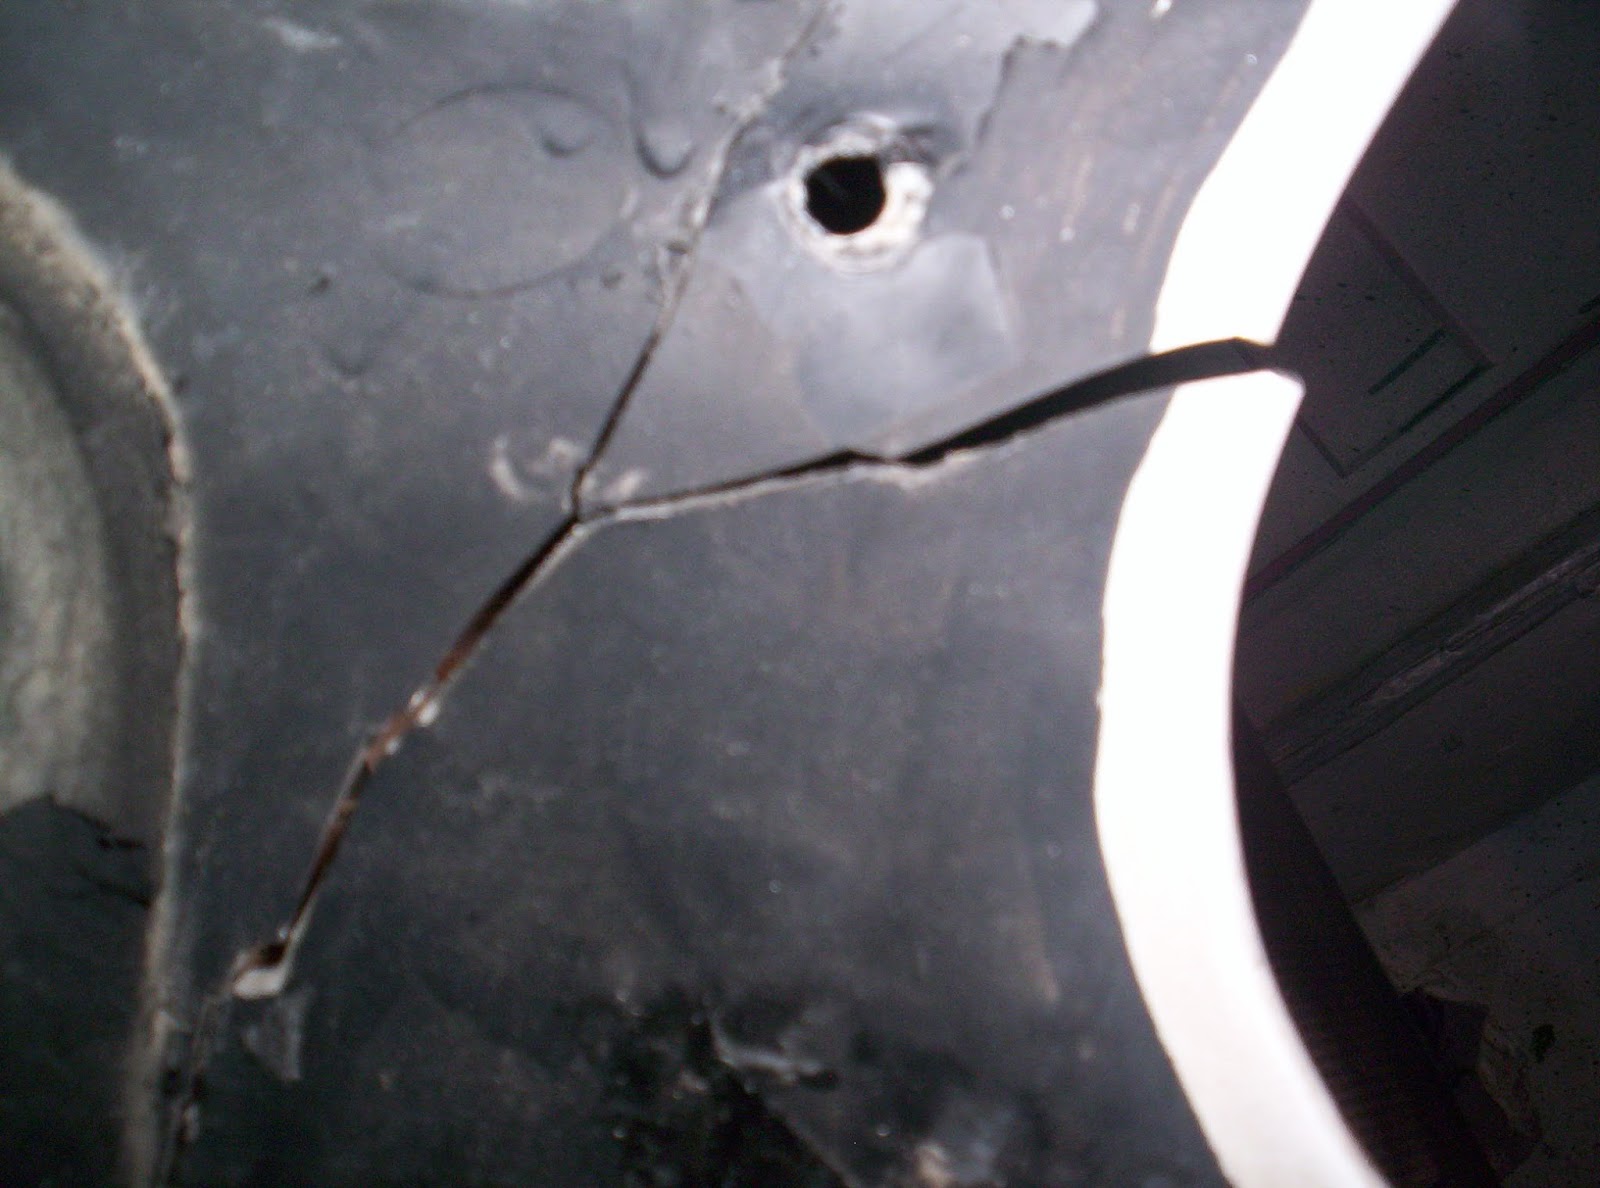
Some photos of the repairs on the headlight mask and mudguard


Some nice R V G decals


And some photos of the fuel tank in black glossy pearl

Here it is finished i hope his owner has a great time with this motorcycle it really worth the effort spent on it


Sunday, September 13, 2015

Plastic glue DIY

First of all i want to give my compliments to the member of the 2strokers.com forum GMS that found this 2-component glue

This is pretty easy and will solve lots of  problems with your plastic fairings , big or small it does not matter all you need is this 2 component glue, a dremel and a chair to sit while you are working

First of all let me introduce you to the glue

The little bottle on the left is a cyanoacrylic glue and the bottle on the right is a powder that we will need to strengthen our repir and fill gaps between the cracks

So let's begin

Here we have a Honda NSR 250 sidepanel that split in 2 pieces

First we put it to gether with paper tape or pliers


Then we mark the line of the crack with our dremel so we can create a passage for the glue


Then we start putting the liquid glue ,make sure that you are aiming for the cracked area

Then powder the glue with the second bottle


If you want your repair to be stronger repeat the procedure on the front surface


And voila good as new


The benefits of this glue are

1)It dries almost instantly
2)It does not leave big repair marks like fiber glass does
3)It works at almost all type of plastics

I am going to show you another repair to a TZR 250 1KT headlight mask , this time i will not write anything i will only show you the steps with photos

DAMAGE


STEP 1 


STEP 2 


STEP 3


STEP 4 


AFTER 2 MINUTES 


Thursday, August 13, 2015

Carbon wrapping

So this is a technique that iam not very keen on but i guess in cases of emergency like this you could give it a go

I am currently restoring/modding my Yamaha R1-Z 250 , this stroker has 2 aluminium plates that bolt on the frame where the swingarm mounts

Mine were in a very bad condition


So except of spraying and polishinf these would need to be welded too

So in this case i decided that carbon wrapping was the way to go

First sprayed them black with a simple spray can

Then i cut one layer of carbon fibre a little bigger than the plates


Then i carefully folded them in the back of the plates and taped them to gether


One coat of clear resin got me here


After some dremeling sanding and 2 coats of clear laquer got me these ( i used a mat laquer , i thing i would have better results with a gloss clear coat )


And finally on to the R1-Z


Friday, July 24, 2015

Yamaha XT600 tank restored


Got my hands on this Carbon fiber tank from a 1992-1996 Yamaha XT600

Pretty good craftmanship but after all these years it had been through a lot

The only solution was to spray the tank and leave some parts with clear laquer

Here is how i got it


After some minor repairs and lots of sanding i started masking the parts i wanted to leave in carbon fiber


And here it is ready to go


Monday, June 8, 2015

Vintage fuel tank

Have been working on this odd fuel tank for some time now
I think this is a Honda CB450 fuel tank and it is modified to fit a NX 650 Dominator

It also has an exterior fuel level line

So let's see how this went

First of all I cleaned the 2 sides with paint remover so the only thing left was bare metal
After that i washed it several time with acid to remove any signs of rust


This tank will be sprayed gloss black , bare metal on both sides with a red stripe
Sounded easy at first but was quite difficult ,especially to catch the right shape in the red stripe (and i can not say that i was 100% satisfied

So before i spray the first coat of primer i must first cover both sides 


Primer 2 coats 


This was tricky because the primer covered all the tape and it was really hard to see the border line 

Time for the red stripe


Masking one more time 


Spray with black and remove all tape , time for clear laquer ( 2 coats ) 


Not bad i guess